Astral Orrery is the final progression-gated region. The mirror-entry mechanic gates the late-game phase, the run ends here with Lionel across multiple phases, and the campaign's ending tree branches off the post-final-fight choice. Three bosses anchor the region — Orrery Warden, The Congealed, and the multi-phase Lionel — and a Spark Generator tower climb completes the trio of tower-climb regions (Queensbury Crypt → Nox's Bayou → Astral Orrery).
SPOILER ZONE This page covers the final region. Lionel, the mirror-world mechanic, and the post-final dialogue threads are full late-game spoilers. The ending tree itself lives on the Endings hub — this page only stages the path into that hub.
FACT-CHECK ANCHOR Region layout and boss arenas are fact-checked against in-clip room geometry from the Indie James full-game longplay (youtube.com/watch?v=LoKnf0E1nUg) and the BeardBear 100% walkthrough (youtube.com/watch?v=UcumKfQxy3U).
Entry path from Coltrane Peak
The Astral Orrery gate opens once Coltrane Peak's Spark Generator activates. The region is themed around a celestial observatory — the exterior is a star-pattern stone deck, the interior is a checkerboard tile pattern with crystalline mirror frames lining the walls. Visible on the source clips at the start of the region around Indie James t≈9:30:00.
The mirror-entry mechanic is what gates the late-game phase. The mechanic itself is a tile-pattern teleport: stand on the matching crystal pattern, hit the activation trigger, and Mina is moved to the mirror-world copy of the room. The mirror world is the late-game combat space — Lionel phase 2 and phase 3 both happen inside it.
Major landmarks
Orrery exterior deck. The star-pattern stone deck on the entry side. The first save shrine sits on this deck.
Mirror-frame corridor (BeardBear t≈7:30:00). Checkerboard tile pattern with crystal mirror frames built into the walls. This is where the mirror-entry mechanic is taught.
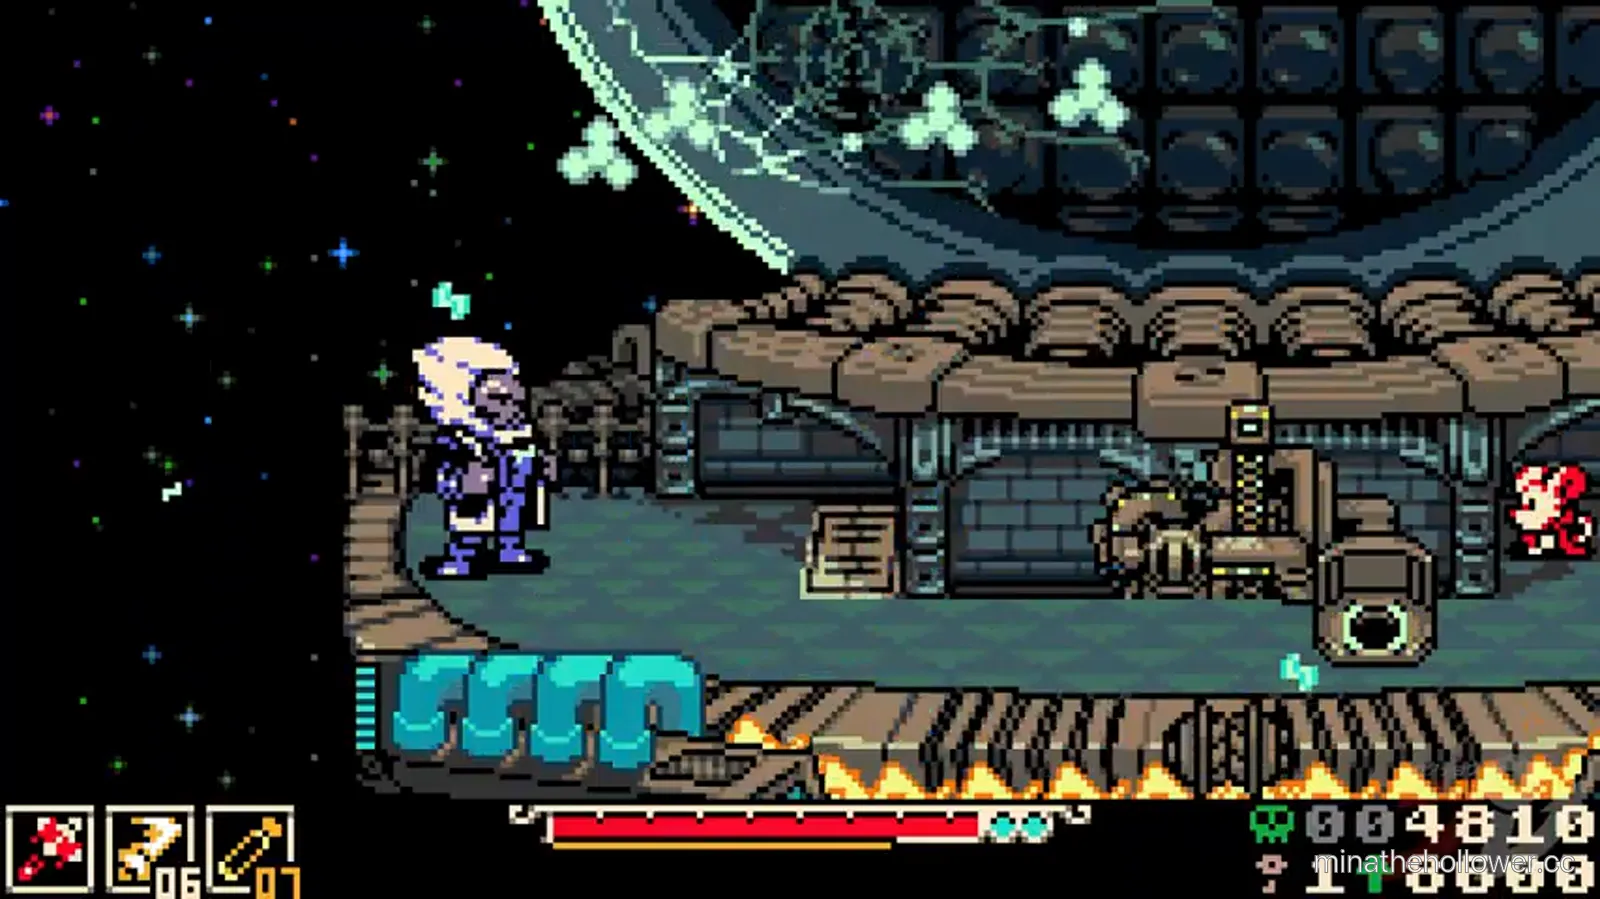
Conveyor-belt fight arena (Indie James t≈10:45:00 shows a conveyor-belt floor pattern). Lionel phase 2 plays out here.
Lionel phase 3 final arena (BeardBear t≈8:30:00). The giant brown-furred wolf-form drops in from above. The final boss fight ends here, and the post-final-choice cinematic plays immediately after.
Save shrines & fast travel
Confirmed shrines in Astral Orrery from the source clips:
- Entry-deck shrine — on the star-pattern stone deck.
- Pre-Orrery Warden shrine — before the first boss trigger.
- Mirror-corridor shrine — between the mirror-entry teach and the mid-region The Congealed fight.
- Pre-Lionel shrine — final shrine before the multi-phase boss chain.
The regional fast-travel beacon also activates after the Lionel kill (as part of the campaign-completion sequence), but by then the campaign is functionally over. Fast-travel to Ossex is the standard return path.
Collectibles in Astral Orrery
The 100% pace pulls multiple collectibles inside the Astral Orrery route, including some that gate behind the mirror-entry mechanic.
- Bonestone Gems — multiple visible inside the mirror-corridor.
- Trinkets — at least 2 trinkets land inside the Astral Orrery route on the 100% pace. The roster is on the /trinkets/ P3 page.
- Mirror-world-only chests — at least one chest is observable only after the mirror-entry trigger. These are the late-game pickups that unlock just before the Lionel fight.
- Save-shrine candles — 4 shrines confirmed (see above).
CONTENT IN PROGRESS Specific trinket IDs, the exact mirror-entry puzzle solve sequence, and the mirror-world-only chest inventory are deferred to the next content pass. Astral Orrery's 100% pace has 10-14 collectibles total; precise mirror-world routes need a second pass with both source clips side-by-side.
Mirror-entry mechanic
The mirror-entry mechanic is the late-game traversal gimmick. How it works on the source clips:
- Activate the crystal mirror frame. The wall-mounted crystal frames have an interactive trigger. Stand close, press the activation prompt.
- Mirror-world room copy spawns. The current room reloads as its mirrored variant. Layout flips on the vertical axis; enemy roster is heavier; the lighting palette shifts darker.
- Mirror-world is required for Lionel phase 2/3. The Lionel conveyor-belt fight and the final wolf-form fight both happen inside mirror-world. There is no return path to non-mirror until the run ends.
Bosses encountered in Astral Orrery
Astral Orrery has three boss-tier fights: Orrery Warden (regional mid-boss), The Congealed (mirror-world mid-boss), and Lionel (the multi-phase campaign final).
Orrery Warden
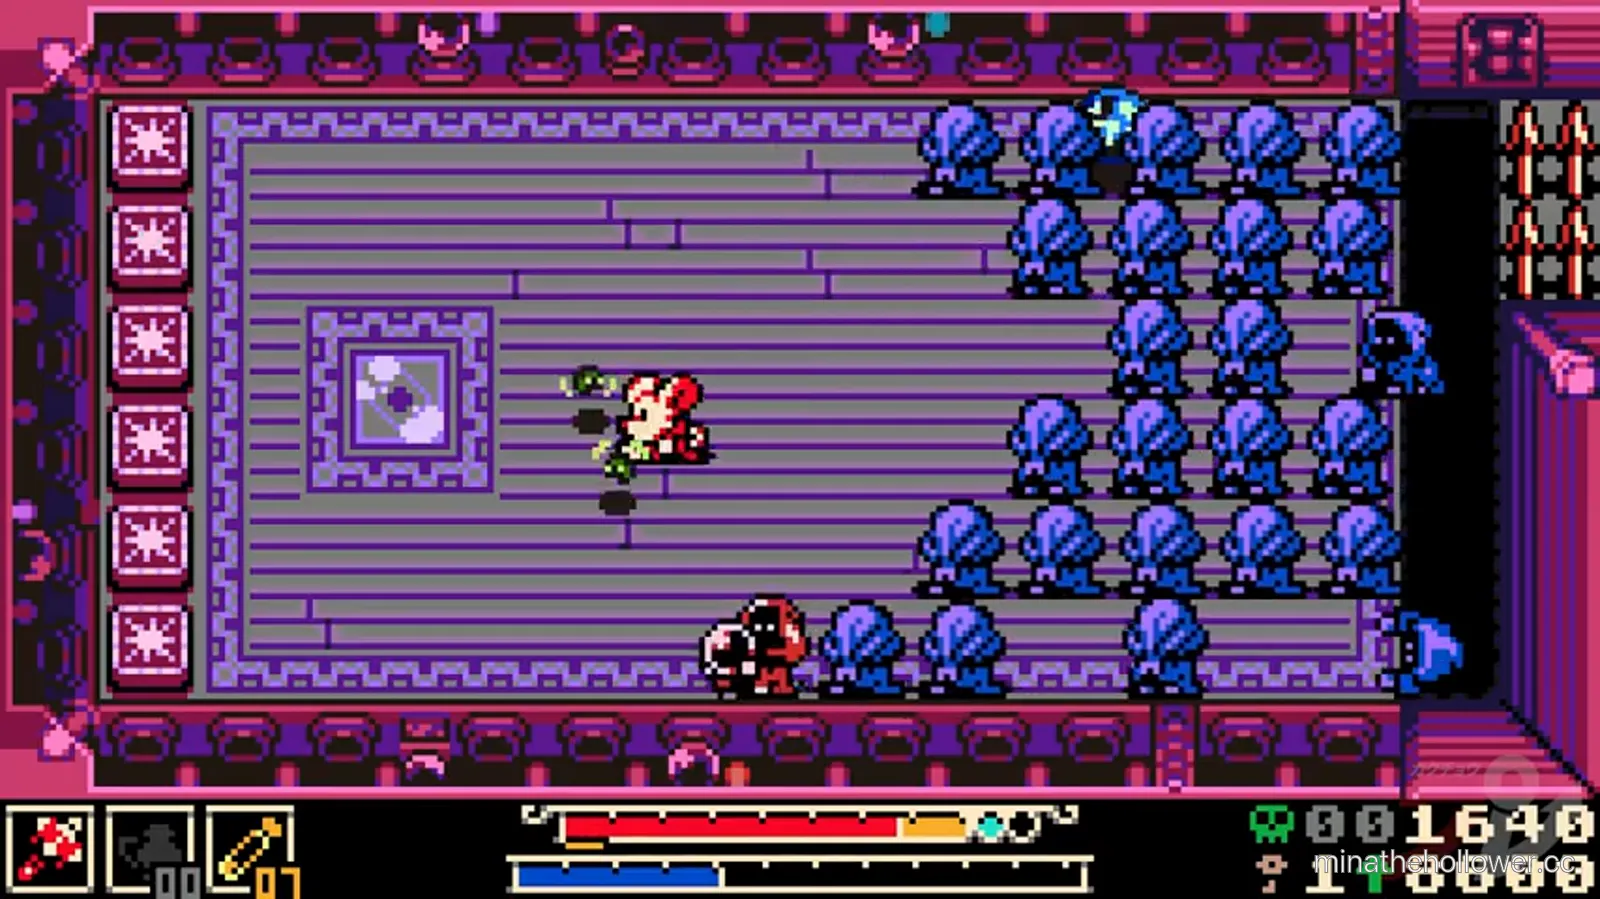
Frame from Kakuchopurei · clip @ 50:32
Orrery Warden — soul-wave & crystal-bolt mid-boss
The first Astral Orrery boss. Three attacks: a soul-wave that spawns from the boss centre, a crystal bolt that fires in a fixed lane, and a spike border that closes off the arena edge.
Full strategy: Astral Orrery bosses.
The Congealed — multi-limb mirror-world mid-boss
The Congealed
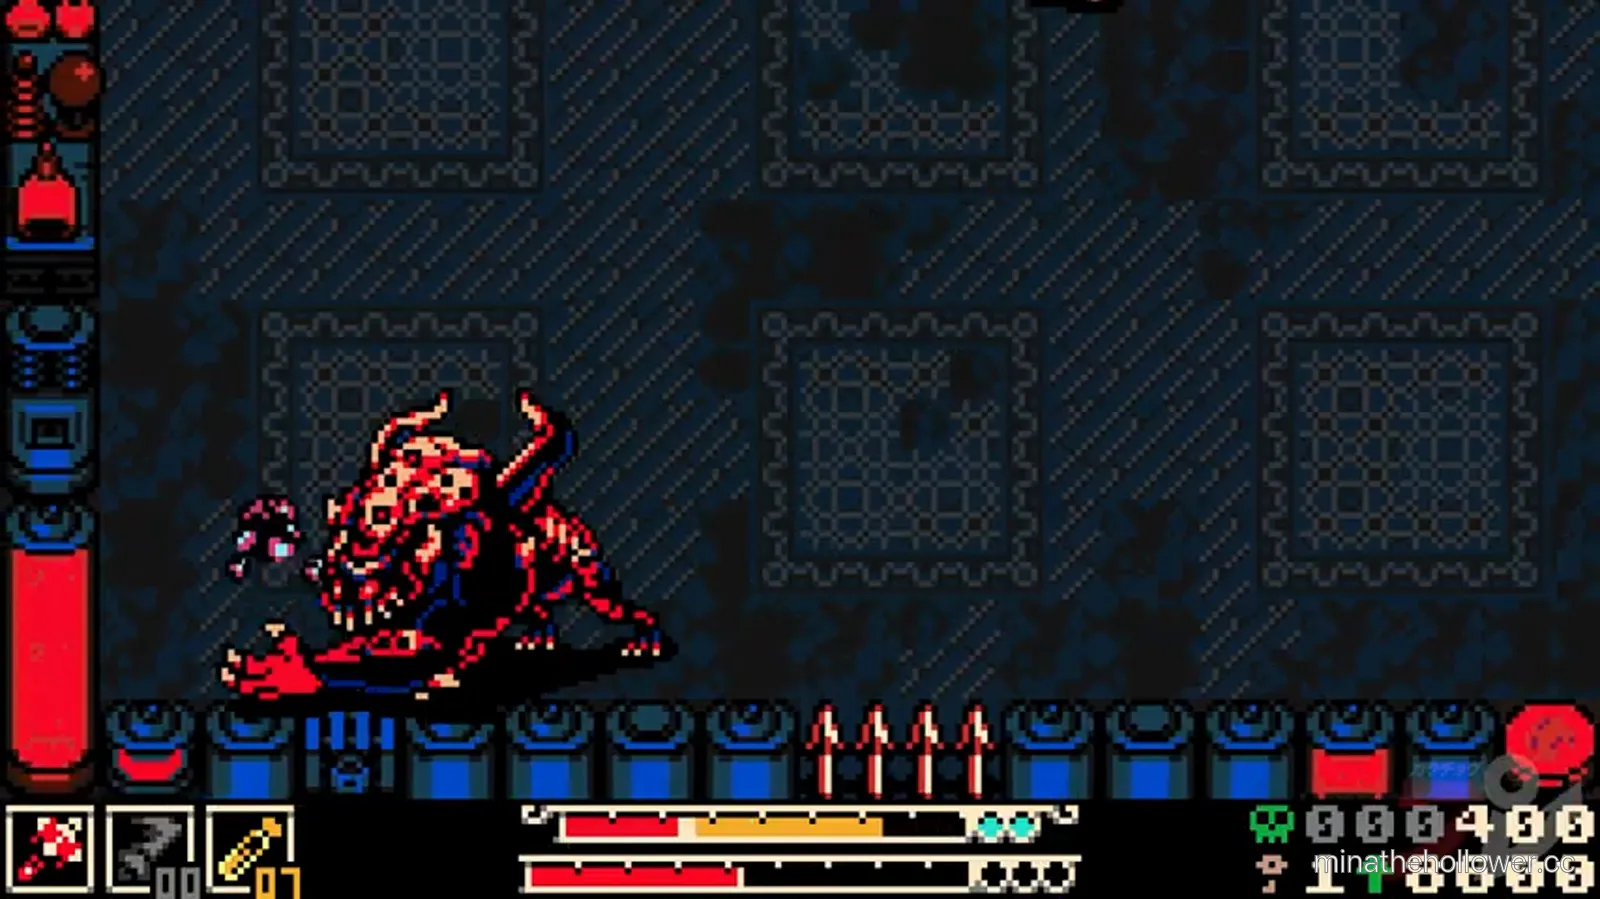
Frame from Kakuchopurei · clip @ 52:59
The Congealed is the mid-region boss in the mirror world. Four attacks: multi-limb sweep, body slam, pressure crawl, and a spike floor hazard. The fight is one of the project's longer mid-game fights.
Full strategy: Astral Orrery bosses.
Lionel — the multi-phase final boss
Lionel
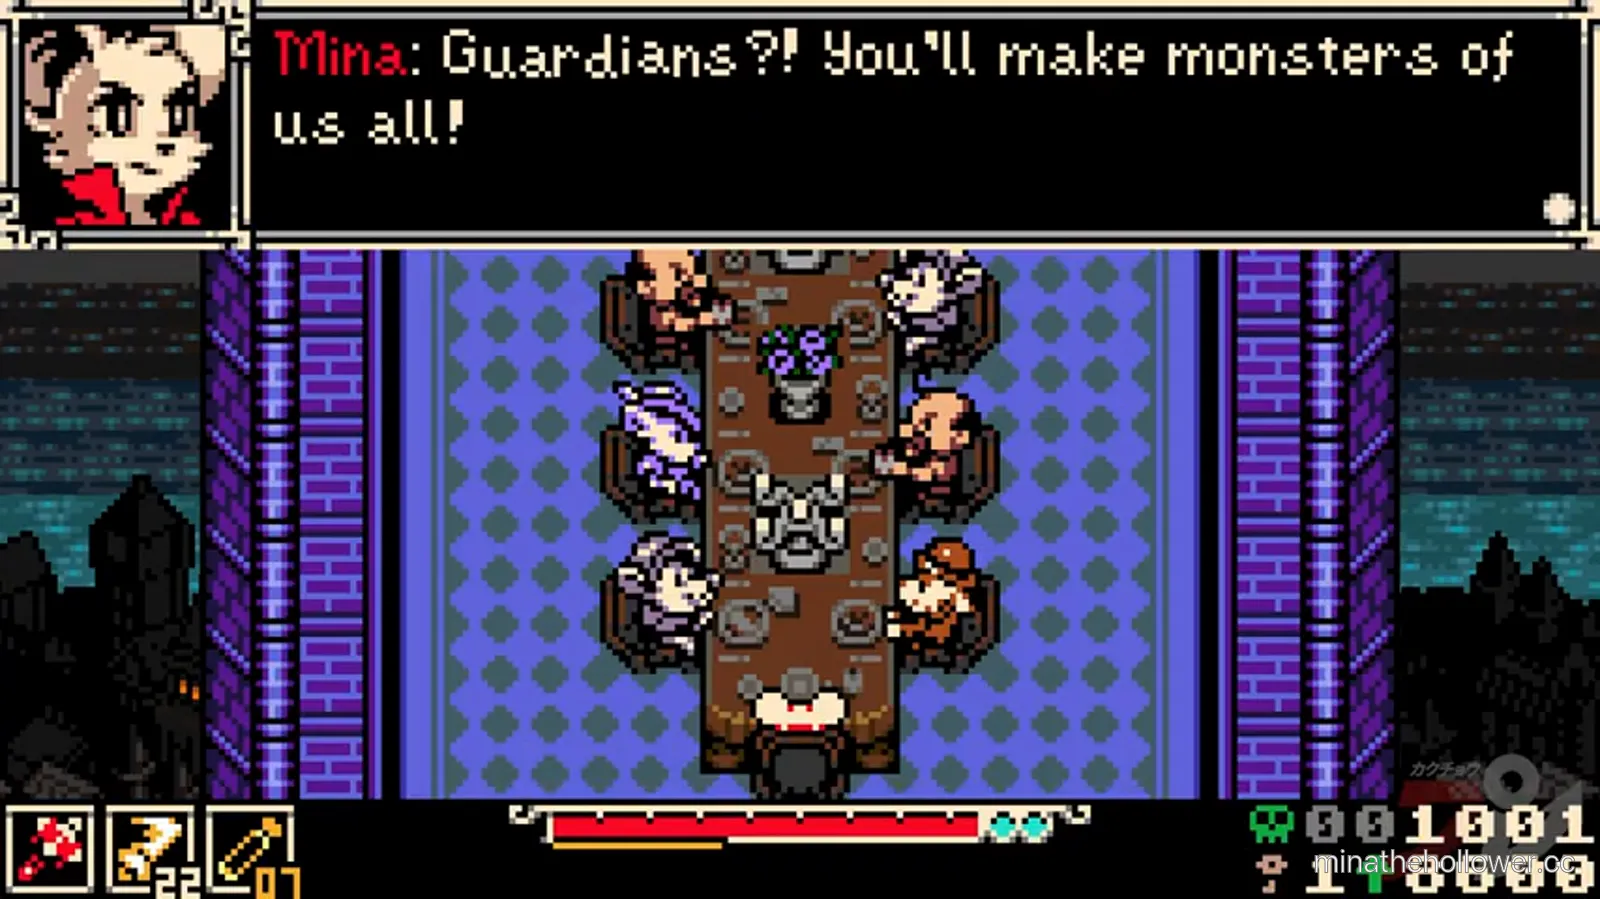
Frame from Kakuchopurei · clip @ 63:36
Lionel is the campaign's final boss across three phases:
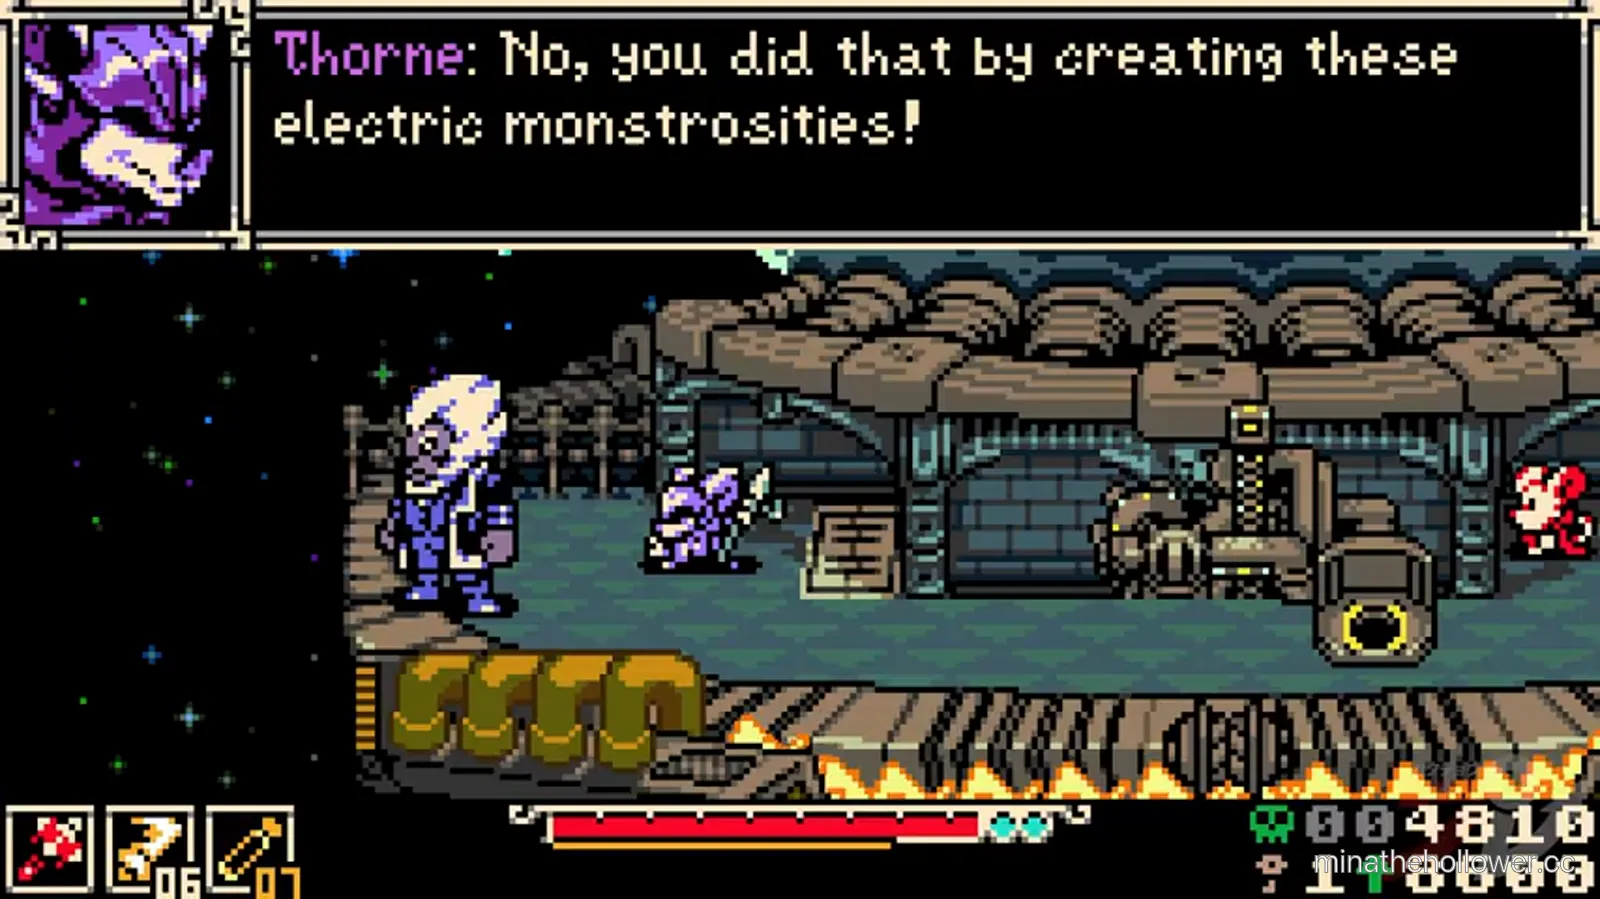
- Phase 1: Radiant Manor dialogue + opening fight (Indie James t≈10:30:00) — set inside the Ossex Radiant Manor courtyard. Lionel is the white-haired, blue-armoured form here.
- Phase 2: Conveyor-belt mid-fight (Indie James t≈10:45:00) — set in the Astral Orrery conveyor-belt arena. The floor itself moves; positioning becomes the test.
- Phase 3: Giant final form (BeardBear t≈8:30:00) — set in the mirror-world final arena. The giant brown-furred wolf-form drops in from above. The body itself is the hitbox — no slim weapon to dodge past.
The post-Lionel cinematic feeds directly into the final-choice selection — see Final choice deep dive.
Full strategy: Astral Orrery bosses.
Tower climb (Spark Generator)
The Astral Orrery tower climb is the third and final Spark Generator tower climb. Unlike Queensbury Crypt and Nox's Bayou, Astral Orrery's tower climb is gated before the final boss chain rather than after the gate boss — the climb is part of the mirror-world activation sequence, not the regional-beacon unlock.
Source-clip pinned frames for the Astral Orrery tower climb:
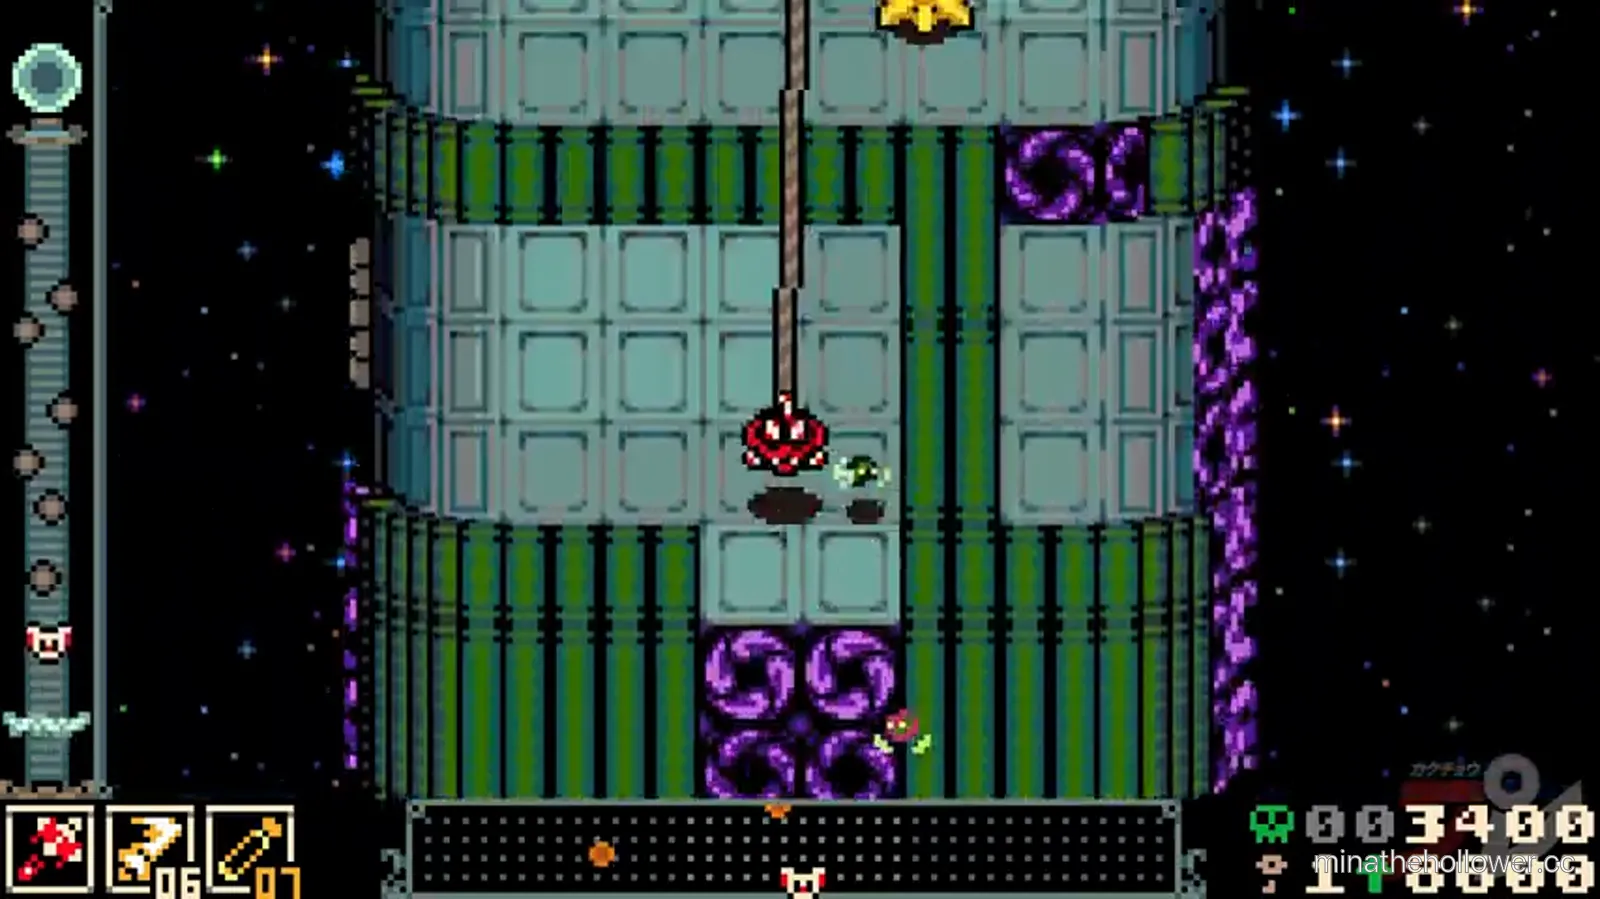
Tower entry — Kakuchopurei compilation t≈57:56. Astral palette tower interior; same hex-grid floor as Queensbury / Nox's Bayou but in deep purple.
Puzzle gauntlet — Kakuchopurei compilation t≈58:38. Mid-tower puzzle layer. Celestial enemy spawns; mirror-frame puzzle blocks.
Generator chamber — Kakuchopurei compilation t≈59:38. The Astral Spark Generator centre column. Mirror-pattern alignment tiles here.
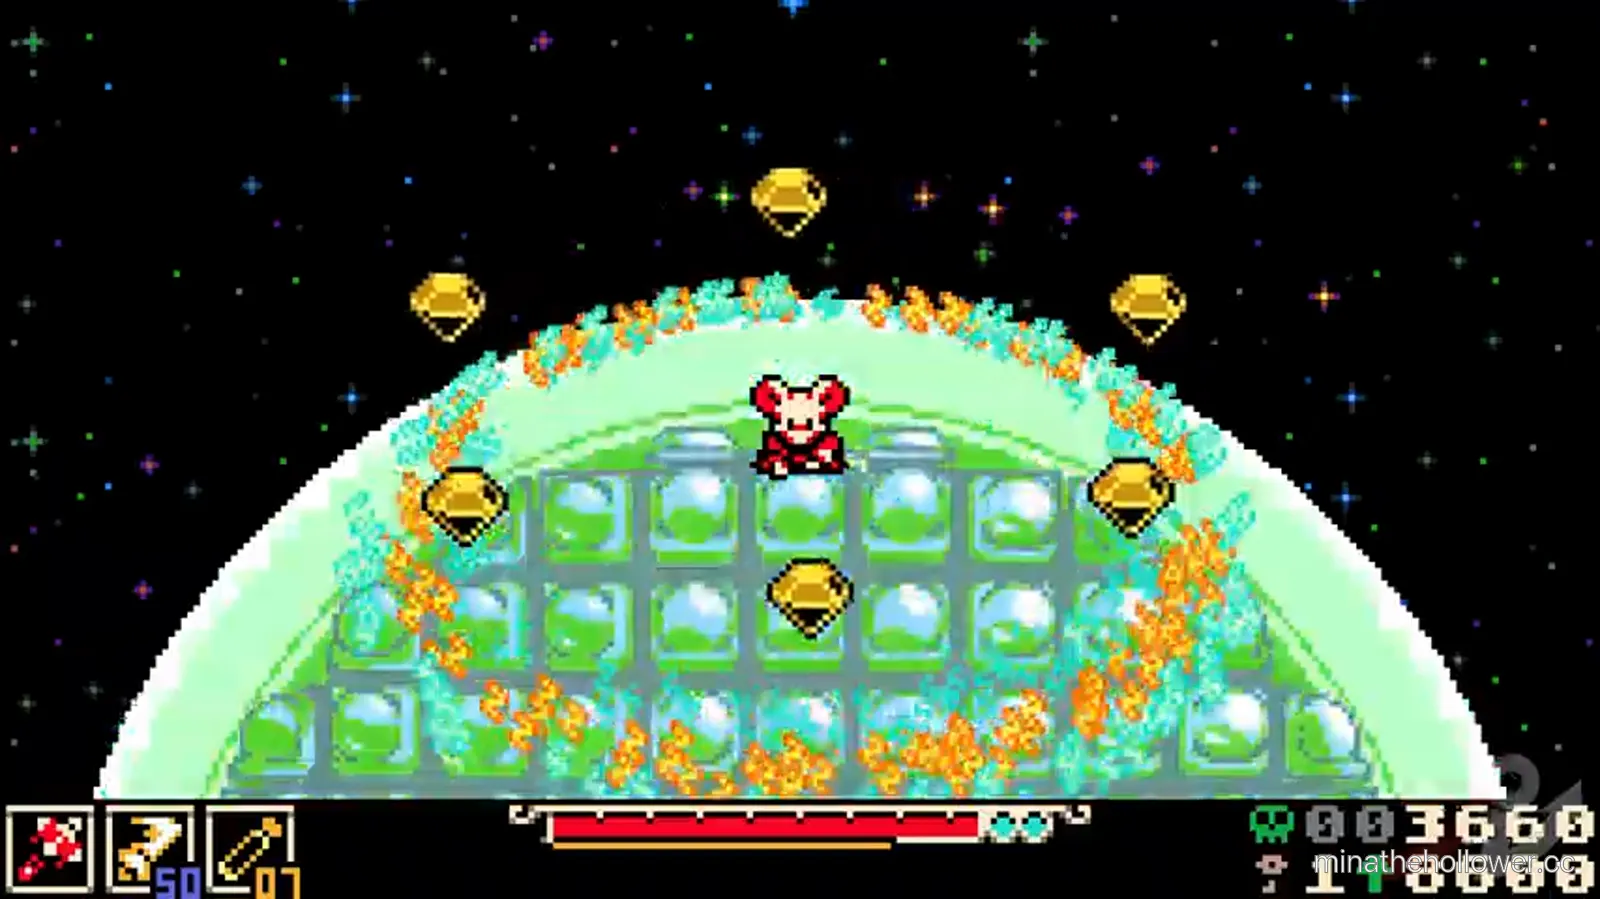
Generator activation — Kakuchopurei compilation t≈1:00:12. Spark lit. Mirror-world entry now unlocked.
What the Astral Orrery tower demands:
- Mirror-pattern alignment puzzle — the central column's alignment tiles are mirror-symmetric, not the simple grid-match of the Queensbury or Nox's Bayou towers. The puzzle solve requires recognising the symmetry rather than just walking the activation pattern.
- Celestial enemy waves — the tower interior has celestial-themed enemy spawns: floating crystal shards and shadow-form mimics that copy Mina's last attack pattern.
- No boss at the top, but mirror-world is unlocked — the Spark Generator activation here unlocks the mirror-world entry mechanic for the rest of the region. The Lionel multi-phase chain follows.
Region atmosphere & narrative framing
Astral Orrery is the campaign's cosmic-celestial gate — a star- pattern exterior deck, a checkerboard mirror-frame interior, and a conveyor-belt arena that turns floor mechanics into the late-game combat read. The visual register is deep purple and violet across the entire region, with crystal mirror frames lining the walls as both decoration and active traversal mechanic.
The region is the campaign's second progression-gated Generator — it opens only after Coltrane Peak's Spark Generator activates. By the time Mina arrives, she has cleared all six prior regions (prologue + Ossex hub + 4 any-order Generators + Coltrane Peak), so the Astral Orrery encounters are designed against an end-of-campaign toolkit: full mobility, disciplined dash budget, and trinket loadout optimised for late-game fights.
Narrative-wise, Astral Orrery anchors the final-region antagonist chain — the Lionel composite (three phases across two arenas), the post-Lionel cinematic, and the campaign's ending tree branches. The post-Carving-Man dialogue foreshadow ("Lionel is lying to you!" at Septemburg t=27:44) pays off here in full. The Radiant Manor dialogue beat that opens Lionel phase 1 ("You couldn't simply leave that poor woman alone in her chair, could you? You became her wor...") frames the entire campaign as the consequence of an earlier choice Mina made about a different lord-and-lady pair (implicitly the Duke / Duchess in Queensbury Crypt).
The campaign ends with the Lionel phase 3 kill. The post-Lionel cinematic, the Cappy NPC epilogue, the Yacht-Club fortress destruction intermission, and the credits-roll closing shot are all documented end-to-end on the endings deep dives.
Enemy roster
Observable on the source clips:
- Cosmic-atrium soul minions in the Orrery Warden arena — blue ghost-souls that fade in along the right wall. Documented on the Astral Orrery bosses page.
- Mirror-frame corridor enemies — celestial-themed enemy spawns in the late-game tower-climb interior. Floating crystal shards and shadow-form mimics that copy Mina's last attack pattern.
- Lionel servant minions along the Radiant Manor approach corridor in phase 1. One weapon hit each.
- Wolf-beast adds during Lionel phase 3. Documented on the boss page.
- The Congealed adds — pressure crawl tile activations during the multi-limb sweep cycle. Documented on the boss page.
The mirror-form mimic enemies in the tower climb are the campaign's only enemy variant that copies player behaviour — they mirror Mina's most recent attack on a delay. Players who spam a single attack get punished by their own copied moves.
Hidden / optional content
- Mirror-world-only chests inside the Orrery interior. At least one chest is observable only after the mirror-entry trigger; these late-game pickups unlock just before the Lionel fight.
- Spark Generator tower climb — see the dedicated section below. The tower is gated before the final boss chain rather than after the regional cap boss.
- No observable secret boss in Astral Orrery in the current source clips. The project's secret-boss data layer has the region's slot unfilled.
- Mirror-frame puzzle shortcuts — the mirror-pattern alignment puzzle in the Spark Generator chamber has multiple valid solve patterns. Discovering the symmetry shortcuts reduces solve time on subsequent visits.
Save shrine optimisation
For first-run pacing: rest at the entry-deck shrine, sweep the exterior collectibles, push to the pre-Orrery-Warden shrine. Rest before the boss fight. Move to the mirror-corridor shrine between the Orrery Warden and The Congealed arenas; rest at the pre-Lionel shrine before the final boss chain commits.
For 100% pace: bias toward the mirror-corridor shrine — it's the node closest to the mirror-world chest pickups and the tower- climb entrance. The pre-Lionel shrine is loadout-locked: once Lionel phase 1 dialogue fires, there's no return.
Backtrack rewards (post-final-boss)
The observed ending's Astral Orrery region-state caption is "SEEKING A NEW FRONTIER" — see all endings explained. The post-final visit shows the region's empty cosmic-atrium with no combat encounters; the mirror-world overlay deactivates on the post-credits return.
NG+ implications: the mirror-world overlay is more mechanically-active on NG+ per Velasco's interview. Specific deltas pending NG+ playthrough verification.
The Lionel arena itself does not re-open after the campaign ends — the final boss is a one-time gate. NG+ resets the encounter on cycle 2.
Frequently asked
When does Astral Orrery open? After the Coltrane Peak Spark Generator activates. The Ossex hub map will show the cosmic-deck gate on the next return visit.
Is the mirror-entry mechanic missable? No. The mirror-entry gates the Lionel fight; it cannot be skipped.
Can I leave Astral Orrery mid-region? Yes, before the Lionel phase 1 dialogue commits. After that, the campaign runs to the credits.
Does Astral Orrery have a tower climb? Yes — it's one of the three tower-climb regions (Queensbury Crypt, Nox's Bayou, Astral Orrery). Its tower climb gates the mirror-world entry rather than the regional beacon.
What's the canonical name for The Congealed? Open question. Candidates: Astral Orrery (visual cue match) or Nox's Bayou (word-form match). Region pin pending wiki.gg verification.
Is there a secret boss in Astral Orrery? Not observable in the current source clips. The project's secret-boss data layer has the region's slot unfilled.
Will the Lionel fight reset if I die? Yes. Phase 1 → 2 → 3 runs on a single life pool with no rest between phases. Death restarts at phase 1.
Does the Duke choice from Queensbury Crypt affect the Lionel fight? Mechanically: not observable. Narratively: the Duke choice seeds the ending tree shape that Lionel resolves. See Duke choice deep dive.
Where this chains to
The campaign ends here. After the Lionel phase 3 kill the post-final cinematic plays, and the final-choice selection screen opens — that's where the ending tree branches.
- Endings hub — decision tree + matrix.
- Final choice deep dive — the end-of-game branch unpacked.
- All endings explained — long-form reading of every ending.
- Duke choice deep dive — the Queensbury Crypt moral choice that seeded the ending tree shape.
- NG+ ending impact — what changes on a second run.
Cross-link: full boss-strategy page for this region is Astral Orrery bosses.
PATCH MAINTENANCE Region path + Lionel multi-phase chain verified against patch 1.0.0 on 2026-05-31. The final-choice tree and Lionel phase mechanics are baseline campaign endpoints; we re-verify on every major patch.