Seal or spare the Duke?
The first major branching decision in Mina the Hollower. This page maps both paths, the triggers each requires, and how the choice propagates into the final-choice matrix.
The two branches
The Queensbury Crypt setup
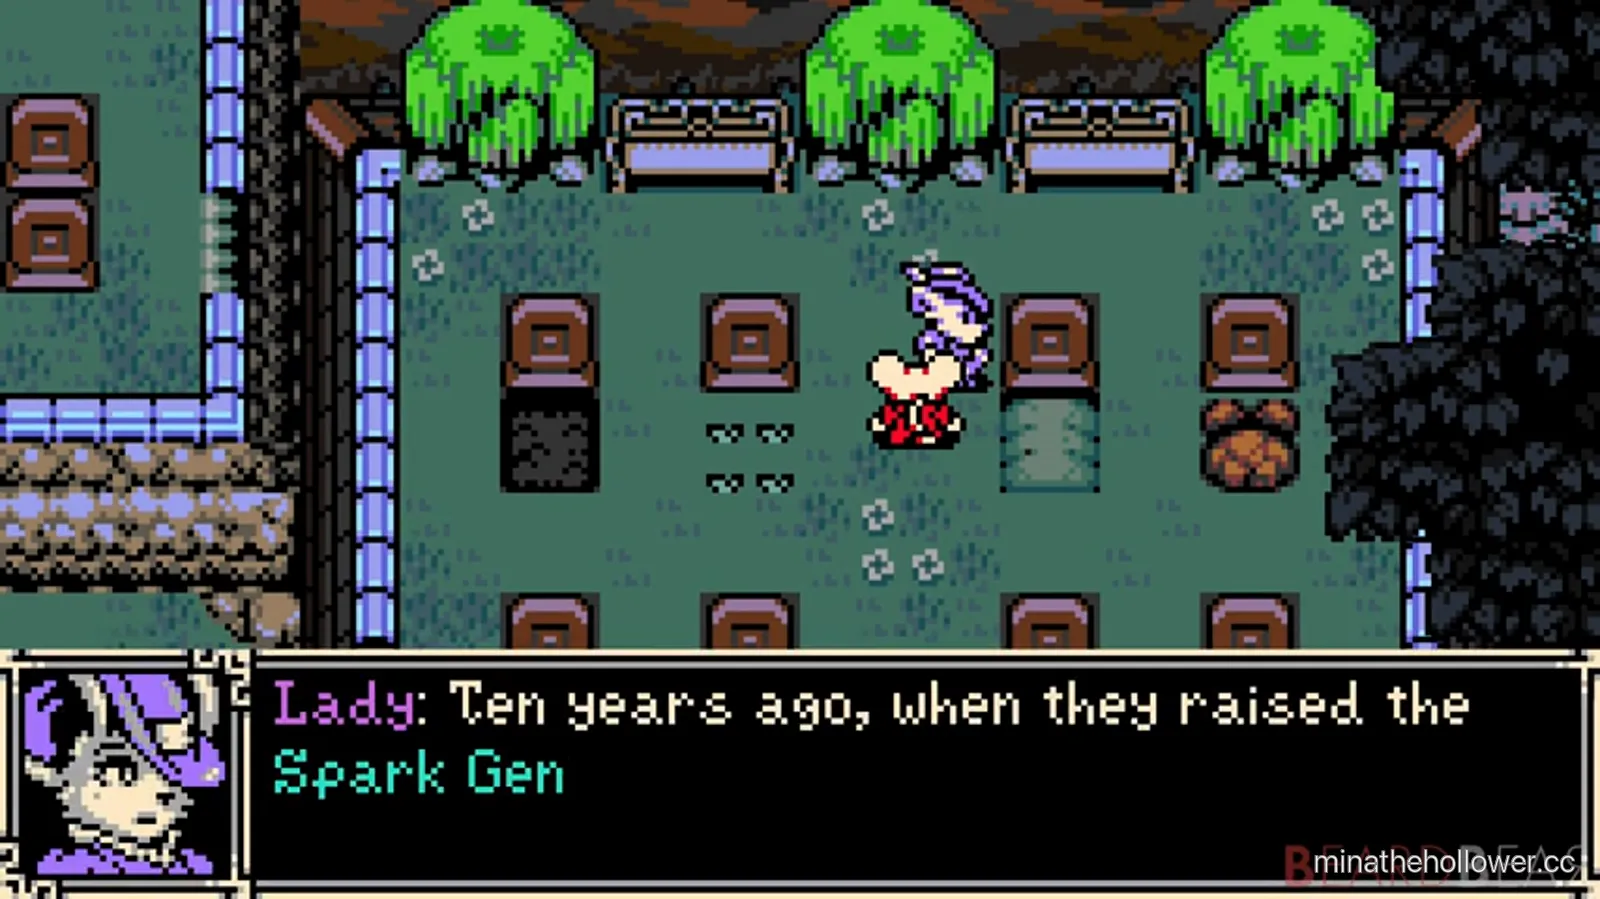
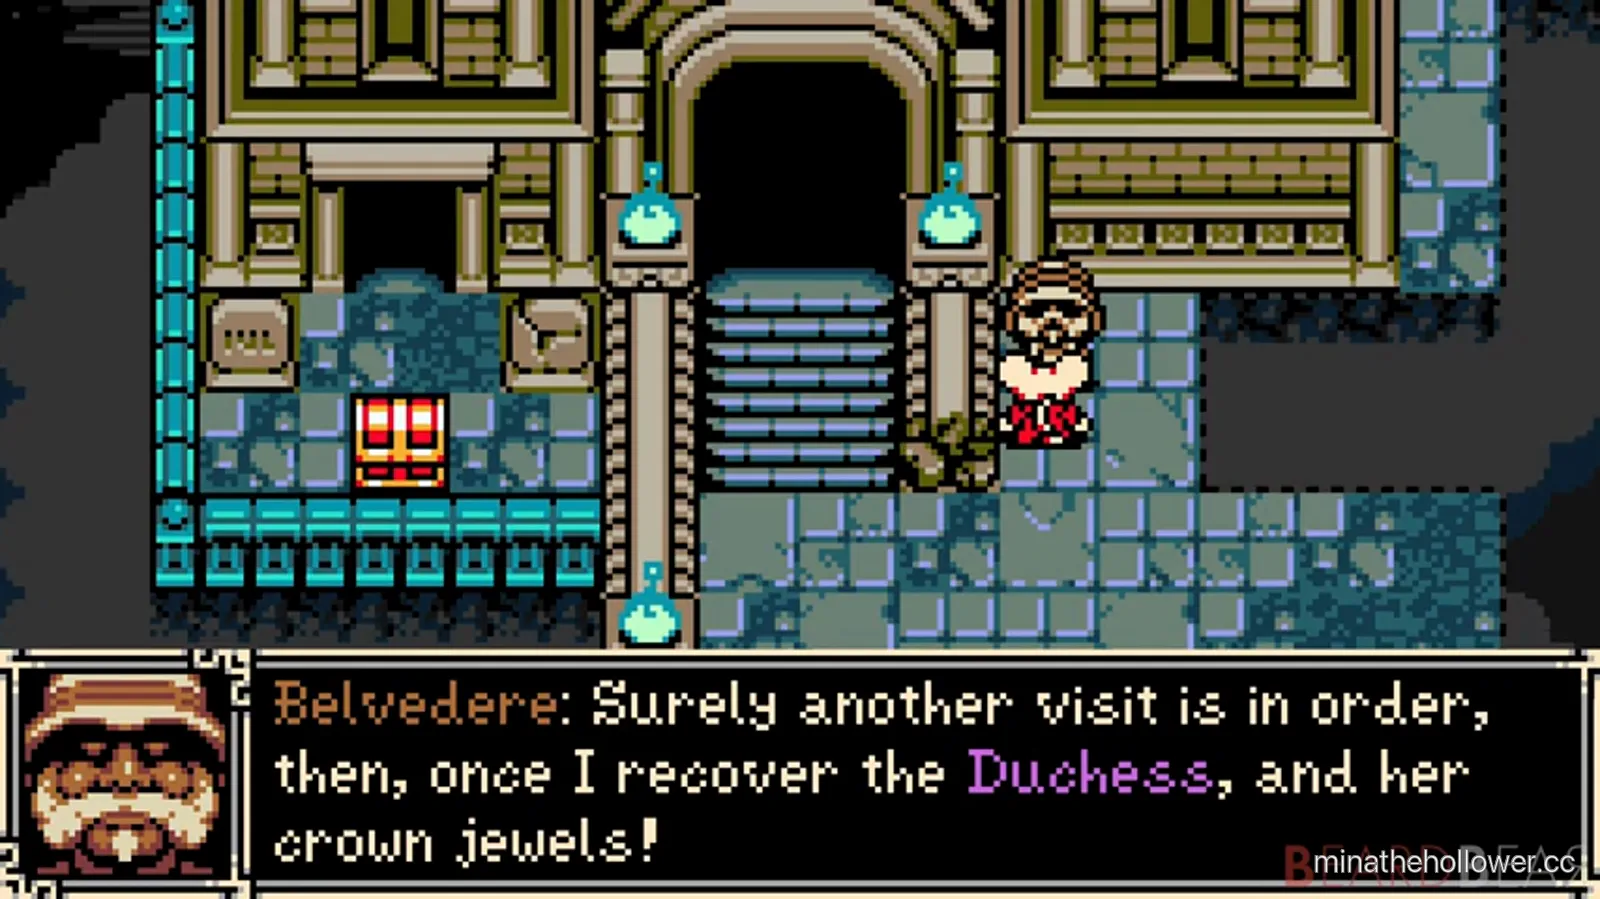
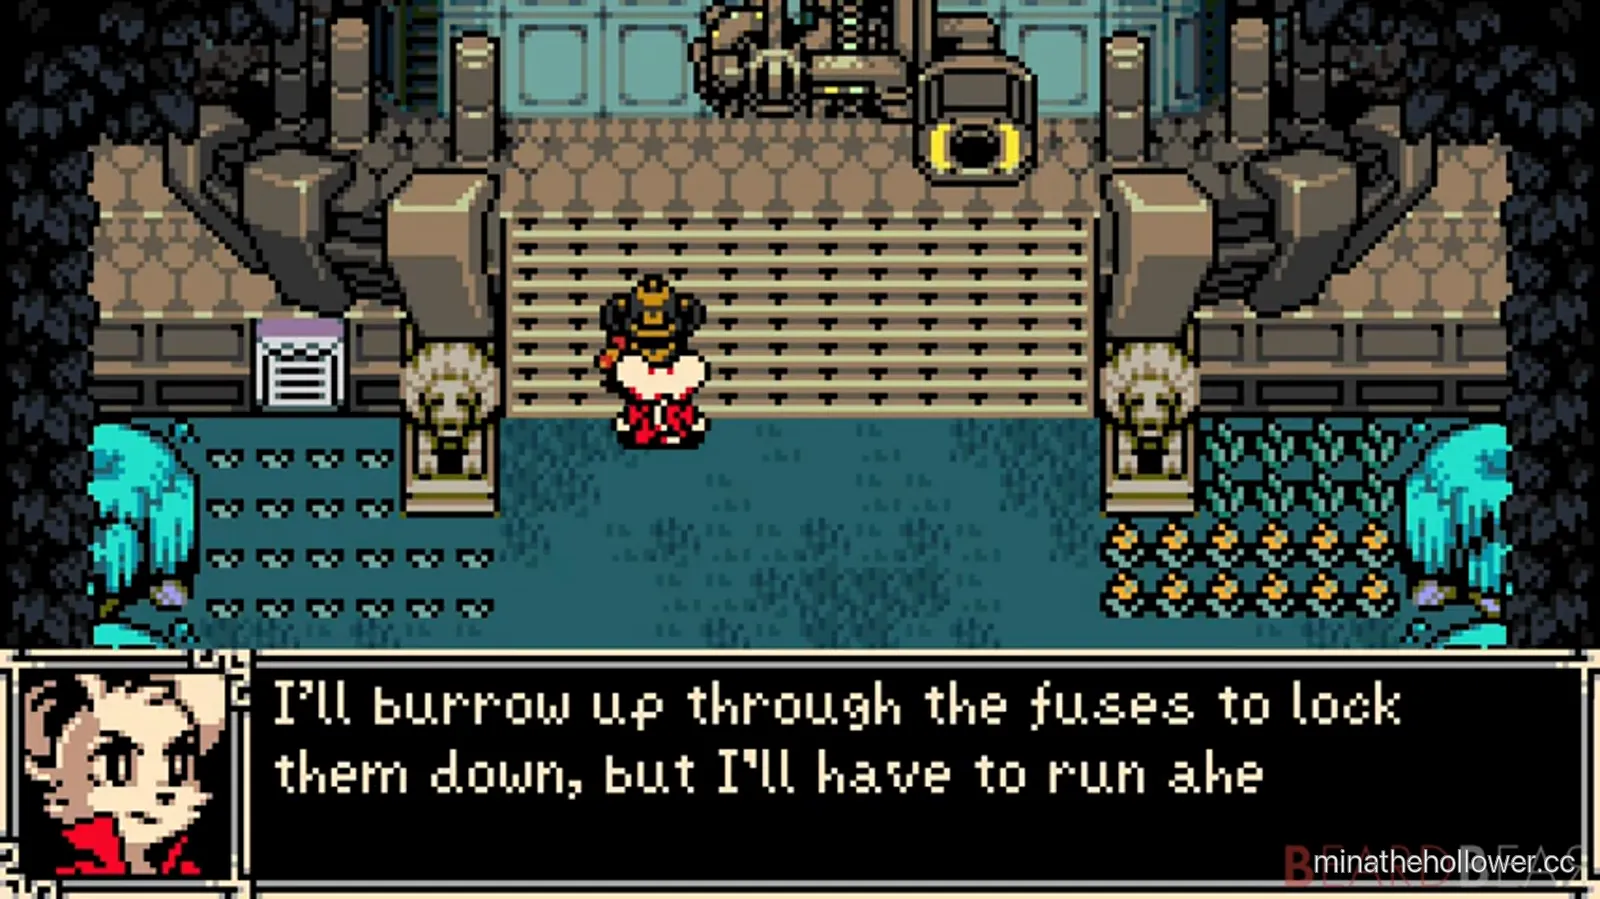
The Duke quest builds across multiple NPC encounters in Queensbury Crypt before the choice prompt fires. The Lady NPC (purple-cat portrait) sets the historical frame — “Ten years ago, when they raised the Spark Gen...” — and the Belvedere NPC (mustached man) frames the Duchess-recovery objective. The Mole NPC outlines the Spark-Generator infrastructure that gates the Duke encounter. The full Queensbury Crypt walkthrough lives on the region page.
How to reach the choice
The Duke encounter triggers after clearing the Duchess. The choice prompt appears at the end of the dialogue tree. To make sure both branches are available, do not skip the Duchess post-fight dialogue lines — they gate the moral framing.
The full step-by-step encounter walkthrough (NPC dialogue tree, required side-objectives, optional dialogue triggers) is the part we still need a dedicated playthrough capture for — our two source clips traverse Queensbury Crypt but neither caught the choice prompt UI on tape.
How the choice propagates
Act 2 and act 3 narrative deltas pending verification. Open question: whether the Duke choice locks specific endings in the final matrix, or only modifies their narrative coda. The observed ending sequence (see Final choice deep dive) shows Radiant Manor in a “LAWLESS AND LEADERLESS” state, which reads as a possible downstream of the Duke choice — but with only one ending on tape we can't yet attribute that state to a specific branch.
What is observable: the Proto Spark trinket itself is mechanically banked. Players who carry it through to Astral Orrery start the Lionel composite with an extra one-fatal-hit buffer. This is the only direct mechanical consequence of the Duke choice that's confirmed in the source clips.
What the Duke choice means
The wiki entry frames the Duchess as a centuries-buried ruler whose sanctum she still rules vengefully — and floats the possibility that the figure Mina fights may not be the Duke's lost companion at all, but an eldritch entity wearing the companion's image. Fact-checked against minathehollower.wiki.gg under CC BY-SA.
The Duke quest reads as a follow-up to that framing — Mina encounters the timid Duke after killing the eldritch Duchess. Sealing the Duke (the cleaner moral resolution) closes the loop on the Duchess/Duke pair. Sparing the Duke leaves the loop open, which the campaign tracks across later regions through Mina's NPC interactions. The Belvedere NPC's “Surely another visit is in order, then, once I recover the Duchess, and her crown jewels!” line frames the choice as personally consequential: Mina is asked to take a position on whether the Queensbury Crypt status quo continues.
Lionel's phase 1 dialogue in Astral Orrery (“You couldn't simply leave that poor woman alone in her chair, could you? You became her wor...”) reads as a deliberate echo of the Duke choice — a parallel lord-and-lady beat that asks Mina to choose again, this time with the campaign's entire arc as the cost.
Who shows up across the campaign
The Queensbury Crypt NPCs framed in the dialogue setup frames above:
- Lady— the recurring survivor NPC from the prologue. Her Queensbury Crypt dialogue (“Ten years ago, when they raised the Spark Gen...”) sets the historical frame. She appears in multiple regions across the campaign and pays off in the post-Lionel ending sequence.
- Belvedere — the mustached antagonist framing the Duchess-recovery objective. His pitch establishes the Duke choice as a personally consequential decision rather than an abstract moral beat.
- Mole— the Spark-Generator infrastructure NPC. His “I'll burrow up through the fuses to lock them down” line outlines the mechanical setup of the Duke encounter.
- The Duke himself — the timid lord behind the choice. His on-screen dialogue + outcome are pending verification (our two source clips did not capture the choice prompt UI or the post-choice cinematic). His outcome is the choice.
The Duchess + Duke framing is the campaign's only lord-and-lady moral beat in act 1. The parallel Lionel + Radiant Manor beat in act 3 echoes the structure, which is why the matrix treats the Duke choice as a foundational axis.
What happens on a second run
Per the project's data layer, the Duke quest does notautomatically reset on NG+ — the choice carries over until cycle 2. Whether the choice unlocks new options on NG+ (a third branch, a different reward), or only repeats the seal/spare framing, is pending verification via a completed NG+ playthrough. Velasco's RPG Site interview confirms NG+ remixes the 200+ modifier system per cycle, so the Proto Spark's “one fatal-hit save per save-room rest” effect may shift on NG+ — but the quest's decision shape (binary choice) is likely stable.
Common Duke choice questions
Is the Duke a boss fight?
No. The Duke is an NPC + decision-tree story figure. The encounter is dialogue + choice; nothing to dodge or counter.
Should I seal or spare?
The choice is the campaign's primary moral beat. Seal grants the Proto Spark trinket and closes the moral loop; spare leaves the loop open. Specific downstream impact pending verification. If you're uncertain and want the mechanical benefit, seal — Proto Spark is the only confirmed reward.
Can I skip the Duke encounter?
Not cleanly. The Duke encounter triggers after the Duchess kill via the post-fight dialogue thread. Skipping the dialogue defaults to one branch (likely seal — pending verification).
Is Proto Spark missable?
Yes — sparing the Duke locks out the Proto Spark trinket for the run. NG+ may re-offer it; pending verification.
What does Proto Spark do?
Banks one fatal-hit save per save-room rest. Mina survives one would-be-killing hit at 0 HP, then the bank refreshes on her next save shrine rest.
Does the Duke choice lock specific endings?
Open question. The matrix treats it as a binary axis (seal / spare) that interacts with the final-choice axis. Whether the Duke choice hard-locks endings or only modifies their narrative coda is pending verification.