Queensbury Crypt is the first numbered Generator region. It teaches the core toolkit (dig, dash, weapon swap) on a long crypt-cellar route, ends on the Duchess gate boss, and feeds the first major ending-shaping decision via the Duke quest. After the Duchess kill, a Spark Generator tower climb caps the region and unlocks the regional fast-travel beacon.
FACT-CHECK ANCHOR Location, room layout and boss roster are fact-checked against the Indie James full-game longplay (youtube.com/watch?v=LoKnf0E1nUg), the BeardBear 100% walkthrough (youtube.com/watch?v=UcumKfQxy3U), the 100% Guides Duchess clip (youtu.be/2WiJVveNRh0), and minathehollower.wiki.gg (location + lore framing only, under CC BY-SA).
Entry path from Ossex
The Queensbury Crypt gate doors are on the north spoke of Ossex's central plaza. The entry corridor drops Mina down into a green-stone cellar with a stained-glass arch background — visible at Indie James t≈10:00 shortly after the player first enters the region. The cellar walls are masonry blocks with a recurring purple-bunny-flower motif inset on the upper banding, and the first interactive props are wall-mounted candle sconces above crypt doors.
The path through the early Crypt is mostly linear with one branching crossroad. Three things to know:
- Bunny add spawns are the recurring enemy — they amble in single waves from the side walls. Sweep them with a weapon swing rather than bait-and-hold; they die in one hit but block your dash budget if you let them stack.
- Floor grates in the cellar mark dig-prompt tiles. The dig opens short downward bypasses around obstructed paths.
- The cellar is multi-storey. The crypt has at least two vertical tiers connected by ladder-stairs and dig-prompt floors. Drop down when the path stops going forward.
Major landmarks
Crypt cellar with stained-glass arch. The opening cellar tile (Indie James t≈10:00). Two crypt doors (one closed wooden door on the left, a barred stained-glass arch on the right) flank a central walkway. The walkway leads forward to the crypt's deeper sections; the side doors gate sub-rooms with chests + collectibles.
Library / archive room (Indie James t≈40:00). Brown brick floor with multiple chest-block puzzles and a blue-robed spirit caster (turret-style enemy that fires homing projectiles down the walkway). The room has a save shrine and one collectible chest visible in the corner.
Pre-Duchess approach corridor. A long stone-and-water corridor that opens onto the Duchess arena. The water tile pattern previews the Duchess fight's water-and-stone split floor.
Save shrines & fast travel
Confirmed shrines in Queensbury Crypt from the source clips:
- Cellar entry shrine — just inside the Ossex-to-Crypt gate. Always available; the safety net for early Crypt runs.
- Library / archive room shrine — mid-region, between the cellar and the Duchess approach. Visible at Indie James t≈40:00.
- Pre-Duchess shrine — final shrine before the boss arena. Rest here, swap loadout, then commit.
- Spark Generator tower shrine — opens after the Duchess kill, inside the tower climb sequence (see Tower climb section below).
Fast-travel beacon for Queensbury Crypt activates after the Duchess kill (the Spark Generator unlocks the regional beacon). Before then, the hub-shrine fast-travel back to Ossex is the only travel option out.
Collectibles in Queensbury Crypt
Observed pickups on the source clips:
- Trinkets — at least 2 trinkets land inside the Crypt route on the 100% pace. Specific trinket names + IDs are deferred to /trinkets/ (P3); the source clips show the pickup animation at Indie James t≈20:00 (in the green farmland sub-area) and t≈40:00 (library room corner chest).
- Bonestone / currency caches — multiple coin piles inside the cellar archive walls. Sweep on the way through.
- Save-shrine candles — count as collectible activations on the persistent save graph. 4 confirmed shrines (see above).
- Proto Spark trinket — the seal-Duke reward (see Duke quest section below). One of the two confirmed Queensbury Crypt trinkets on the project's data layer — full details on /endings/duke-choice/.
CONTENT IN PROGRESS Specific trinket IDs and tile-by-tile pickup map are pending the /trinkets/ P3 fill. The 100% completion route through Queensbury Crypt has 6-8 collectibles total per BeardBear's pace; precise locations need a second scrubbing pass.
Boss: The Duchess
The Duchess sits at the gate of Queensbury Crypt — a two-phase fight on a floor split between dry stone (left) and a stepping-stone water channel (right). She's the region's main story boss and the encounter that gates the Spark Generator climb.
The Duchess
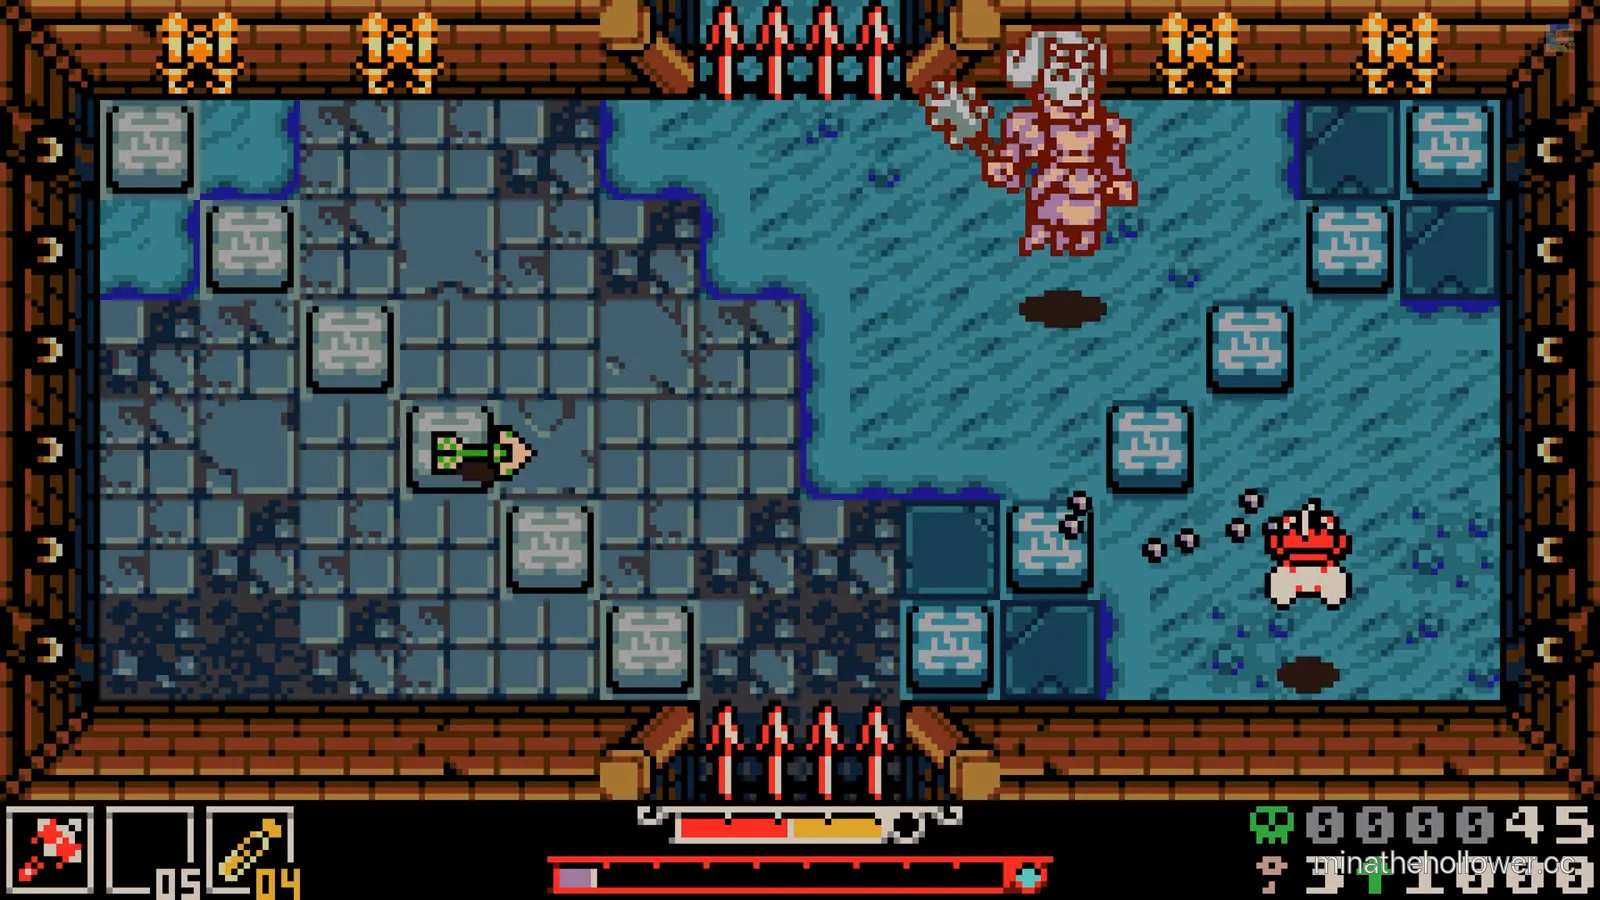
Frame from 100% Guides · clip @ 0:35
Phase 1 is the bone-club overhead and a wading reposition; phase 2 twists her sprite pink/violet and inverts the arena — dry stone becomes the danger half, the water channel becomes the only safe lane. The spike strips on the top and bottom walls are the most common death vector on a blind first run.
The full strategy — phase-by-phase tactics, telegraph reads, recommended build, common deaths — lives on the dedicated boss page: Queensbury Crypt bosses.
The Duke encounter (not a boss)
The Duke is the second major narrative beat of Queensbury Crypt, but he is not a boss fight. He is an NPC tied to the region's moral-choice quest (seal vs spare), and the decision you make shapes the broader ending tree.
Mechanically there is nothing to dodge or counter on this page — the encounter is dialogue + choice. The strategic breakdown of which trinket each branch unlocks (Proto Spark is the seal-side reward) and how the choice interacts with the final ending lives on Duke choice deep dive.
FIRST-RUN GUIDANCE Do not skip the post-Duchess dialogue lines if you intend to spare the Duke — the spare branch requires the dialogue trigger from the Duchess kill to fire. The seal branch is the default if you skip past everything.
Tower climb (Spark Generator)
After the Duchess kill, the path opens to a vertical tower-climb sequence at the Spark Generator. This is not a boss fight — it's a multi-room mini-game where you climb the tower interior, solve a puzzle-and-enemy gauntlet, and activate the Spark Generator at the top.
Source-clip pinned frames for the Queensbury Crypt tower climb:
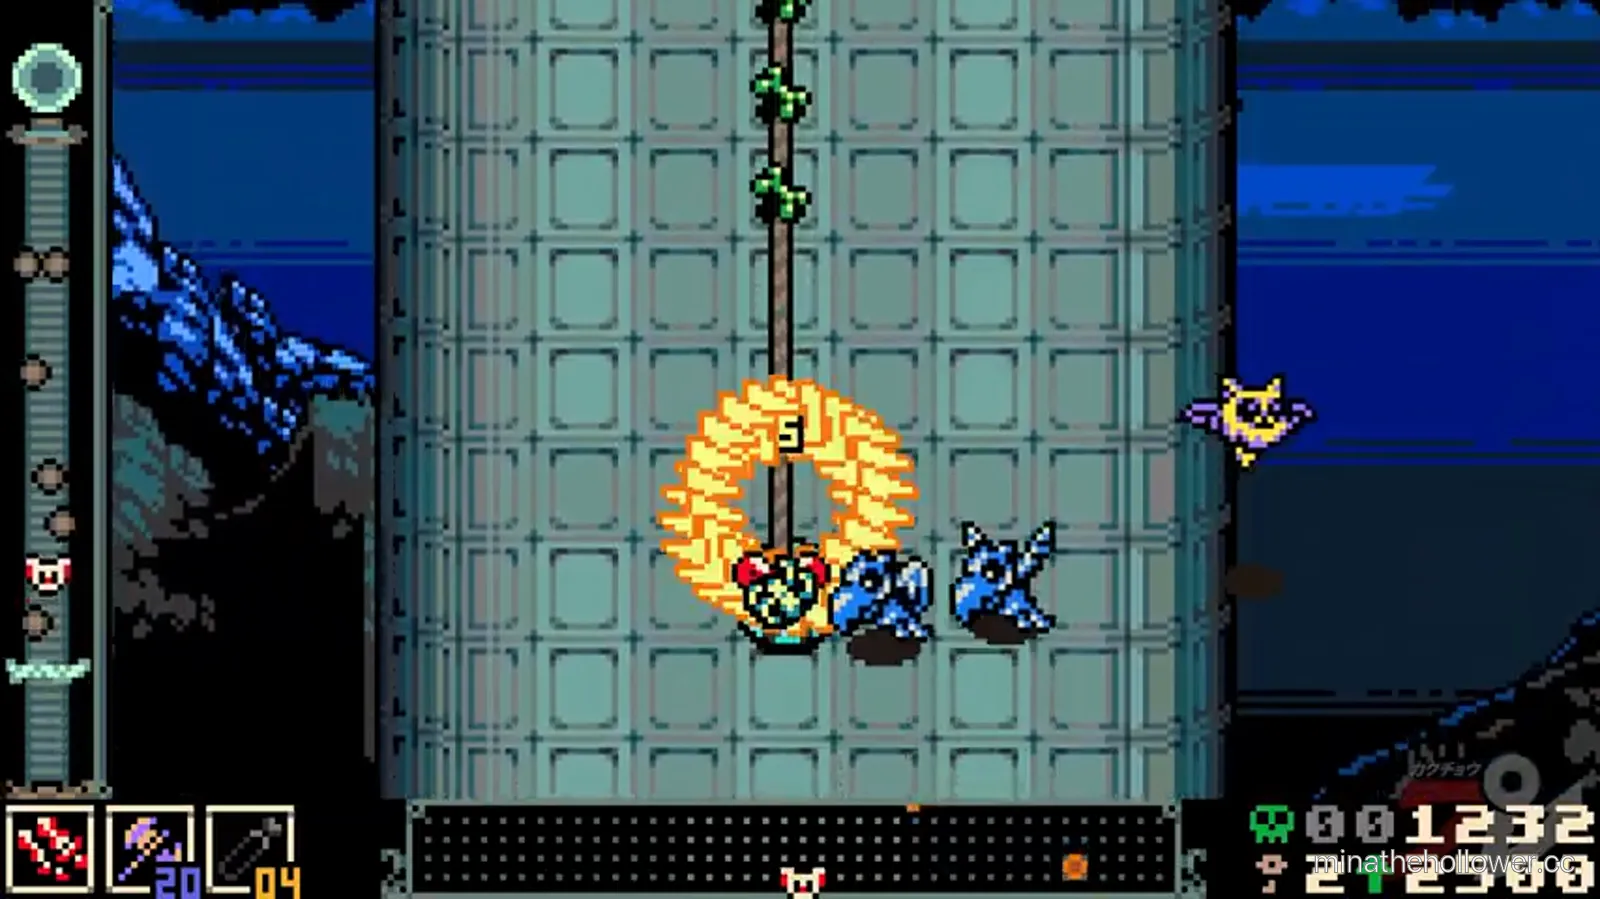
Tower-climb opening — Kakuchopurei compilation t≈10:27. Hex-grid floor tile pattern, chandelier prop above. The puzzle gauntlet starts here.
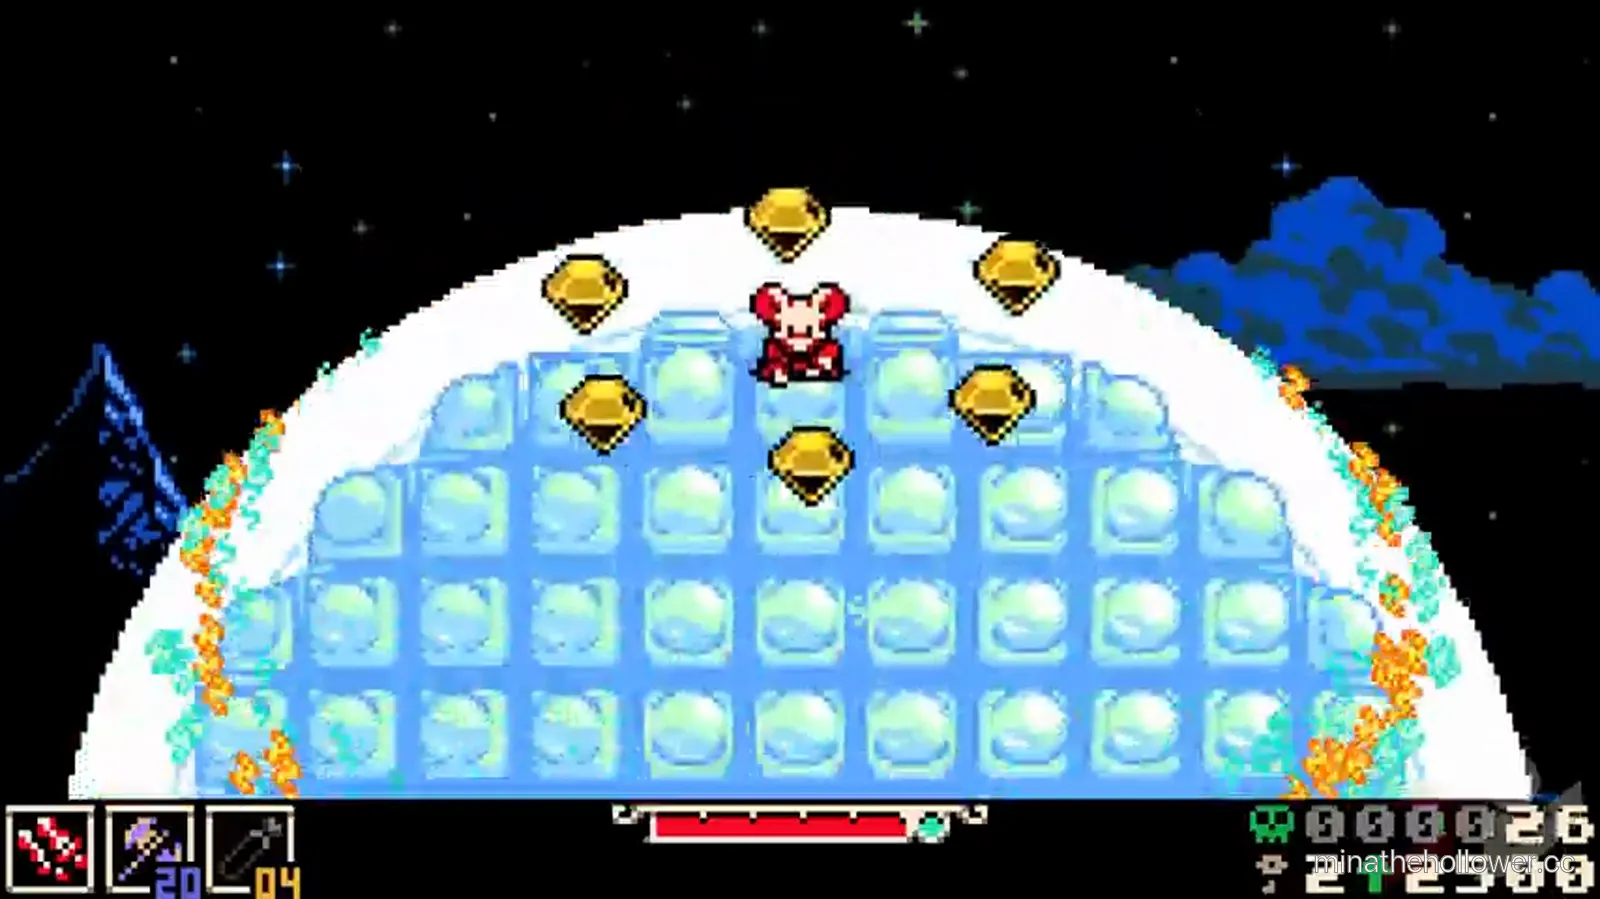
Mid-tower gauntlet — Kakuchopurei compilation t≈10:58. Enemy waves spawn here; pre-Spark-Generator collectible chest visible.
Spark Generator chamber — Kakuchopurei compilation t≈11:43. The electrical generator centre — the puzzle activates here.
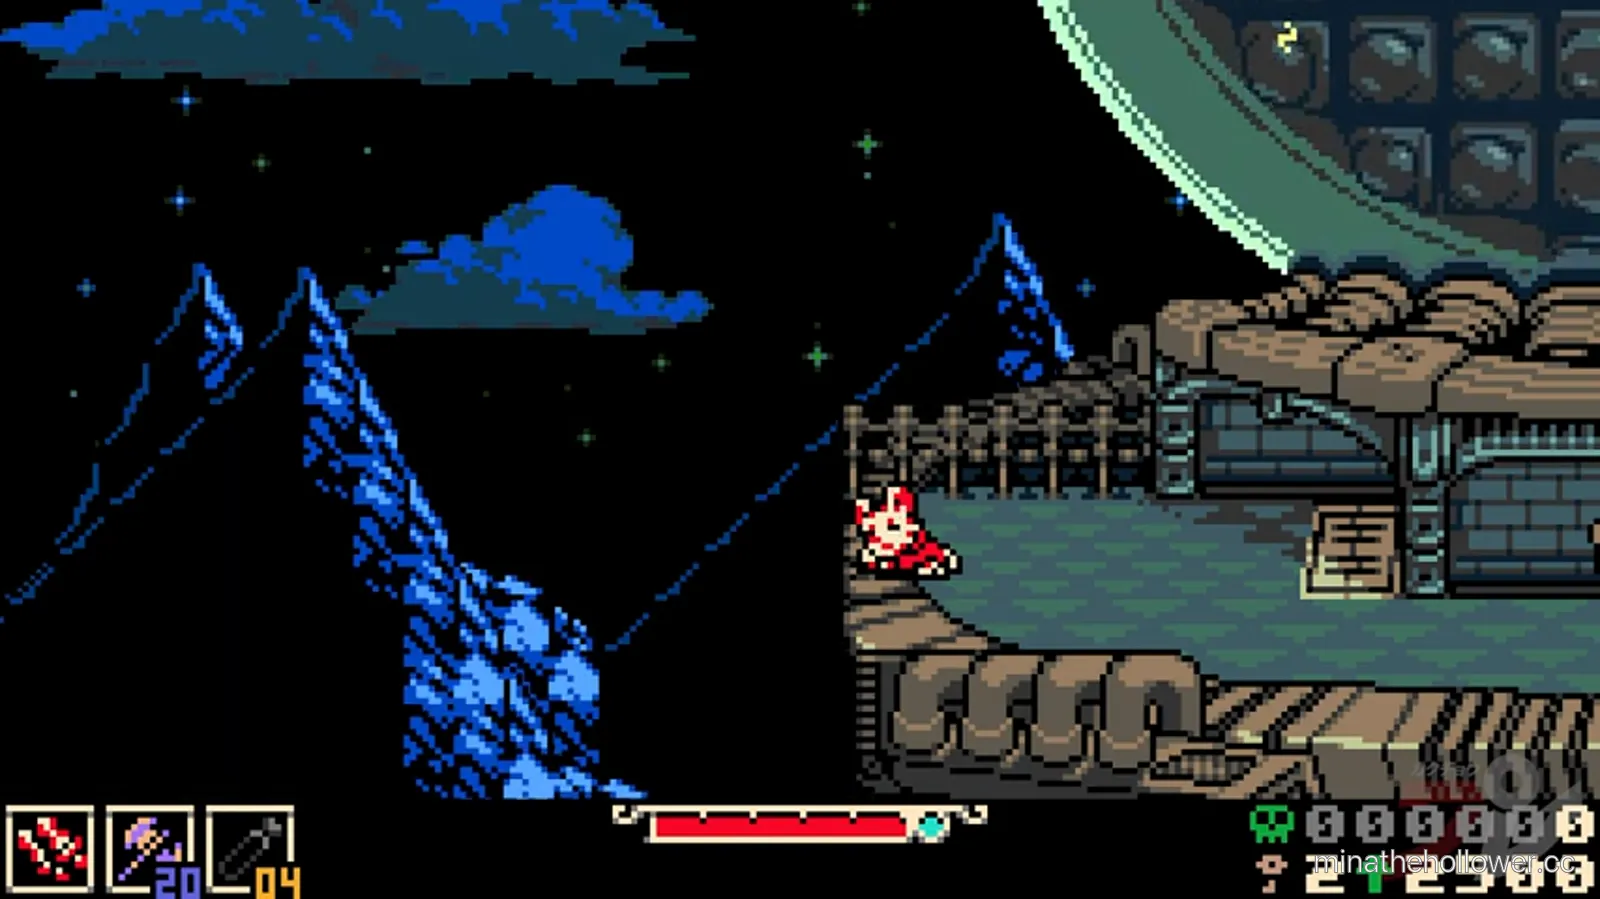
Generator activation moment — Kakuchopurei compilation t≈12:09. Spark lit, regional fast-travel beacon online.
What the Spark Generator demands:
- A central column puzzle — the chamber's centre column has an interactive prompt that aligns the generator's lock-pattern. Stand on the matching floor tile, hit the trigger; the alignment counters tick up the Spark Generator's power level.
- Enemy waves on each climb tier — the tower interior has two-to-three enemy waves between the chamber entrances and the central column. Read the same dash-or-die rhythm Mina learned on Hulk Trooper — there is no new enemy type that wasn't telegraphed earlier in the region.
- No boss at the top — the Spark Generator is the reward, not a fight. Once it activates (visible at the t≈12:09 frame above), the region's beacon comes online and fast-travel to Ossex is one button.
TOWER NOTE The "tower climb" naming is a community shorthand — the in-game prompt calls it the Spark Generator activation sequence. We use the community term because that's what the SEO query is.
Region atmosphere & narrative framing
Queensbury Crypt is the campaign's crypt-cellar Generator — a masonry interior with stained-glass arches, candle-sconce wall lighting, library archive rooms with brown-brick floors, and a recurring purple-bunny-flower motif inset on the upper banding. The visual register is contained and tonal: this is an indoor region throughout, with no exterior segments to break the masonry-and-candle aesthetic.
The crypt's narrative weight comes from the Duke quest, which seeds the campaign's primary ending tree branch. The Duchess fight gates the moral-choice setup; the Duke encounter that follows is the choice itself. The region is the campaign's only Generator that anchors a major decision-tree NPC quest — the other regions cap on boss fights without a parallel moral beat.
Narrative-wise, the region's NPC roster is concentrated in the post-Duchess corridor. The Lady NPC's "Ten years ago, when they raised the Spark Gen..." line at BeardBear t≈1:05:00 sets the historical frame. The Belvedere NPC's "Surely another visit is in order, then, once I recover the Duchess, and her crown jewels!" line at BeardBear t≈1:14:00 frames the Duchess-recovery objective. The Mole NPC's "I'll burrow up through the fuses to lock them down..." line at BeardBear t≈1:40:00 outlines the Spark-Generator infrastructure that gates the Duke encounter.
These three dialogue beats are documented as anchor frames on the Duke choice deep dive.
Enemy roster
Observable on the source clips:
- Bunny patrol enemies — the recurring purple/red rat-like enemies along the cellar corridors. They patrol single tiles; one weapon hit each. Sweep with a horizontal weapon swing before they reach the dodge zone.
- Library spirit casters — blue-robed turret-style enemies inside the library archive room. They fire homing projectiles down the walkway; sweep them during their cast wind-up.
- Stained-glass arch sentinels — slower patrol enemies near the stained-glass barred-arch crypt doors. Two weapon hits each; their attack is a slow forward swing.
- Duchess arena adds — bunny spawns during the boss fight, documented on the Queensbury Crypt bosses page.
Hidden / optional content
- Dig-prompt cellar shortcuts along the cellar floor grates. Dig opens short downward bypasses around obstructed paths.
- Library archive chest puzzles — multiple chest-block puzzles in the brown-brick floor room. Push the block, solve the puzzle, collect the cache.
- Pre-Duchess corridor collectibles — bonestone caches along the long stone-and-water approach corridor. Sweep on the way to the boss.
- Proto Spark trinket — the seal-Duke reward, awarded after the Duke encounter. Documented on the Duke choice deep dive.
- No observable secret boss in Queensbury Crypt in the current source clips. The project's secret-boss data layer has the region's slot unfilled.
Save shrine optimisation
For first-run pacing: rest at the cellar entry shrine, sweep the early collectibles, push to the library/archive shrine. Rest before the library spirit-caster sweeps. Move to the pre- Duchess shrine when ready to commit; rest, swap loadout, then fight.
For 100% pace: bias toward the library/archive shrine — it's the central node for both the cellar collectibles and the library chest puzzles. The Spark Generator tower shrine opens after the Duchess kill.
Backtrack rewards (post-final-boss)
The observed ending's Queensbury Crypt region-state caption is pending verification — the BeardBear frame at t≈8:50:15 caught the QC scene mid-transition before the sub-caption resolved. See all endings explained for the current state.
The Duke choice you made shapes the post-final state of the crypt. The Radiant Manor ("LAWLESS AND LEADERLESS" in the observed ending) is the visible counterpart to the Duke decision; the crypt itself appears stable on the post-final visit.
NG+ implications: the mirror-world overlay applies; specific mirror-world chest contents in Queensbury Crypt are pending verification. The Duke quest does not automatically reset on NG+ per the data layer — the choice carries over until cycle 2.
Frequently asked
Should I do Queensbury Crypt first? It's a strong first pick because it anchors the Duke quest, which seeds the campaign's primary ending tree branch. Doing it early ensures the post- Duchess dialogue lines fire while Mina has full HP and dash budget.
Is the Duke fight a boss fight? No. The Duke is an NPC + decision-tree story figure, not a boss. The fight after the Duchess is dialogue-only; there is nothing to dodge or counter.
What's the Proto Spark trinket? The seal-Duke reward — "banks one fatal-hit save per save-room rest." Awarded only on the seal branch. See Duke choice deep dive.
Should I seal or spare the Duke? The choice is the campaign's primary moral beat. Seal grants the Proto Spark trinket; spare leaves the loop open. The downstream narrative impact on each branch is pending verification (our source clips don't capture both branches end-to-end). See Duke choice deep dive for the current analysis.
Is the Duchess required? Yes. She gates the Spark Generator tower climb, which gates the regional fast-travel beacon.
Does the Duke quest gate other regions? No. The Duke quest shapes the ending tree but does not gate access to other Generator regions.
How long does Queensbury Crypt take? Roughly 1-2 hours of playtime on a blind first run, including the Duchess fight, the Duke quest, and the Spark Generator tower climb.
Where this chains to
Queensbury Crypt's Spark Generator activation opens the regional fast-travel beacon and feeds you back to the Ossex hub. Pick your next region:
- Septemburg — autumn farmland + Carving Man
- Nox's Bayou — poison swamp + Nox Beast
- Bone Beach — mining town + Major Miner / Mined Mind
- Where to go first — full rotation rules
The Duke choice you made in Queensbury Crypt seeds the ending tree — deep dive on Duke choice.
Cross-link: full boss-strategy page for this region is Queensbury Crypt bosses.
LORE · CC BY-SA The wiki.gg entry frames the Duchess as a centuries-buried ruler whose sanctum she still rules vengefully — and floats the possibility that the figure Mina fights may not be the Duke's lost companion at all, but an eldritch entity wearing the companion's image. The corrupted-form transition in the fight reads cleanly against that framing. Fact-checked against minathehollower.wiki.gg under CC BY-SA.
PATCH MAINTENANCE Region path + boss arena layout + tower-climb sequence verified against patch 1.0.0 on 2026-05-31. The Duke moral-choice trigger and Proto Spark trinket reward are baseline narrative facts; we re-verify on any major patch that touches the endings or the Duke quest.